About this tool
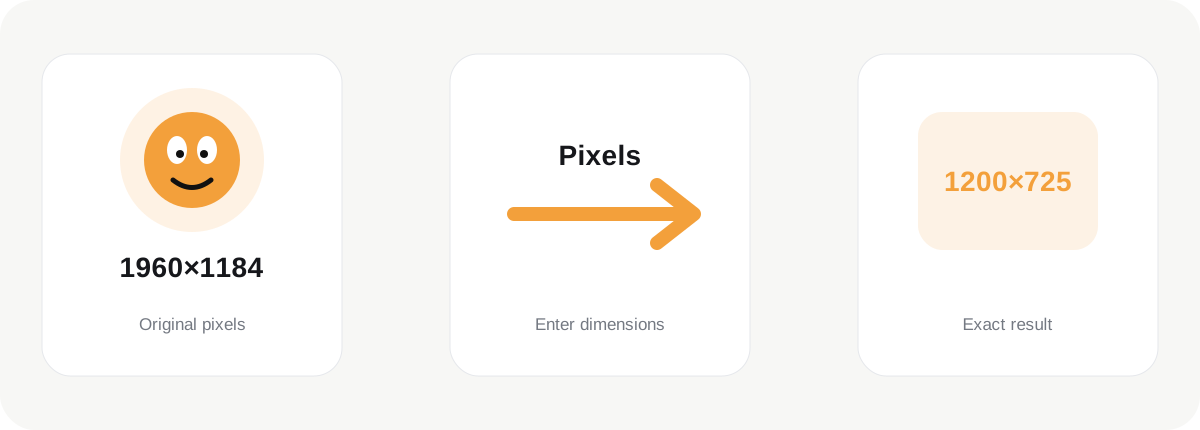
Resize by Pixels is for workflows where the destination specifies exact image dimensions such as 1200×800, 1080×1350 or 1920×1080. Rather than thinking in percentages, you work directly with width and height values measured in pixels. This is useful for websites, content-management systems, presentation assets, marketplace listings and any template that expects a predictable canvas size.
How it works
Pixel dimensions describe image resolution, not the physical size of a screen or printed object. A 1200-pixel-wide image can appear at many different sizes depending on how it is displayed. The purpose of this tool is to change the number of pixels in the file so the output matches the technical requirement of the destination.
What affects the result
Aspect ratio is important when entering dimensions. If the relationship between width and height changes, the image can become stretched unless the workflow also includes cropping. The general Resize Image page provides a visual percentage approach, while Crop Image is better when the final aspect ratio needs to change without distorting the subject.
When to use it
Reducing dimensions can also reduce file size significantly because fewer pixels need to be stored. For a website, dimension reduction is often one of the most effective optimizations before compression. An oversized 5000-pixel photograph does not need to remain 5000 pixels wide if it will only ever be displayed at 1200 pixels.
Best practice
Use Resize by Pixels when you know the exact output dimensions you need. Preserve the highest-quality original separately, create a correctly sized working copy, and then compress that copy if the destination also has a file-size target. This order usually provides more control than repeatedly resizing already optimized derivatives.
Should I enter both width and height?
When preserving the original aspect ratio, changing one dimension should determine the other automatically. This prevents accidental stretching. If the destination requires an exact rectangle that does not match the source ratio, resizing alone is not the right operation because it would distort the image. Resize to an appropriate scale first, then use the Crop tool to remove the extra area and reach the required aspect ratio cleanly. This produces a more natural-looking result than forcing unrelated width and height values. Exact pixels are especially useful for templates, CMS image slots and repeated campaign assets where consistent dimensions matter.
Practical workflow tip
For repeated production work, exact dimensions also make handoff easier because every downloaded asset follows the same technical specification. This can reduce layout surprises when multiple images are placed into one component or template. If several files share the same destination, use the multi-image queue and verify the result dimensions shown on each card before downloading the ZIP.